
In the world of online shopping, your product images are the frontline ambassadors of your brand. Good photography can elevate a simple item to an irresistible purchase, while poor photography can make even the most desirable product seem unappealing.
Fortunately, creating professional-quality images doesn’t require a studio or an expensive photographer. With some ingenuity and a few tools you might already have, you can produce stunning, sales-driving photographs right from the comfort of your home. Here’s how to master the art of DIY eCommerce photography with the use of tools like ProductScope.
Your Camera
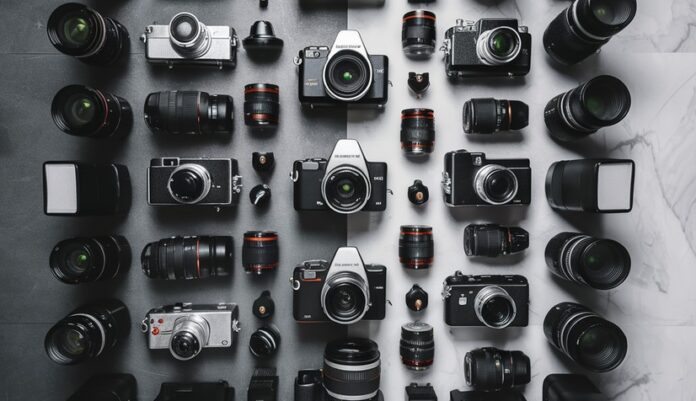
The first step in DIY product photography is understanding the equipment you’re working with—your camera. Whether you’re using a DSLR, a mirrorless camera, or a smartphone, getting familiar with its features is crucial. Most modern cameras and smartphones offer a range of settings that can influence the quality of your photos, such as ISO, aperture, and shutter speed.
Take the time to learn what each setting does and how it affects your images. Experiment with different configurations to see what works best for your products. Remember, the goal is to use your camera to its fullest potential to create clear, detailed images that truly represent your products.
Lighting: Make It Shine
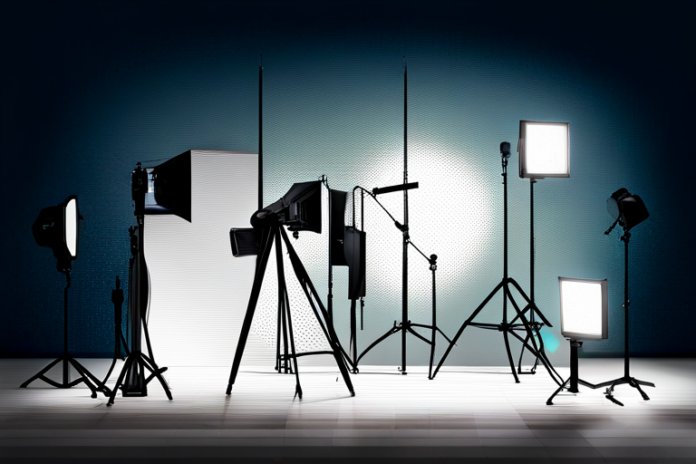
Lighting is arguably the most important element in photography. Proper lighting ensures that your product is clearly seen, with accurate colors and sufficient detail. Natural light is a great resource for photography—soft, diffusive, and flattering. Try setting up your photography area near a large window where plenty of natural light floods in, but avoid direct sunlight as it can create harsh shadows and highlights.
If natural light isn’t consistent enough for your needs, consider investing in some affordable studio lights, like softboxes or LED panels. These lighting solutions help mimic daylight and provide a steady, controlled light source. Setting up two light sources on either side of the product can help eliminate shadows and provide even lighting, making your products look their best.
The Perfect Setup
Creating a dedicated space for photography can significantly streamline your process. This doesn’t need to be large or elaborate—a corner of a room or a section of your office can serve well. Key elements include a table to place your products on and a backdrop. A clean, uncluttered backdrop is essential to ensure your product stands out.
You can use a white seamless paper or purchase professional backdrops in different colors for variety. Make sure the backdrop curves smoothly from the vertical to the horizontal plane to create an infinite background look, which eliminates corners and focuses the viewer’s attention on the product.
Stabilize with a Tripod
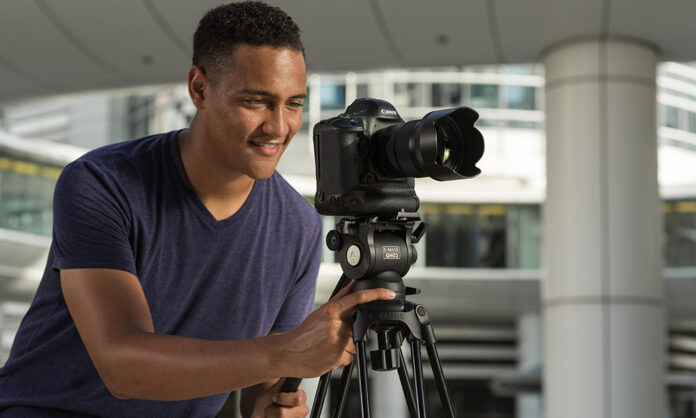
A tripod is a simple tool that can greatly improve the professionalism of your photos. By stabilizing the camera, a tripod prevents blurring caused by hand movements and allows for sharper images, especially in low-light conditions where slower shutter speeds are necessary. Moreover, a tripod lets you keep the framing consistent across multiple product shots, which is key for maintaining a uniform look in your online store.


