For many families, gathering upon their backyard deck is surely an activity that makes the summer great. However, to be able to fully enjoy it for many more years, you have to be sure your deck is in the right condition.
If water gets inside the woods, they will quickly rot leaving you with an unappealing and unfunctional deck. For that reason, doing seasonal checkups is essential to preserve the condition of the wood and make sure it is waterproof.
By being a person who likes to work on improving your home by yourself with various DIY projects, this is for you. In this article, we’ve prepared a guide on how to make your wooden deck waterproof. Keep reading and find out more.
Things You Need for This Process
Before we get into details, it is important to list all the items you will need to get this process done. To be sure you don’t lack anything during the process, get every piece of equipment prior to the work.
Since you will need to do a cleaning job first, you will need a regular or a powerful pressure hose. Surely, the pressure will help you to clean the deck faster, but if it is relatively clean, you don’t necessarily need it.
In addition, you might need a cleaning solution that works best in getting rid of all the gunk between the planks. To smooth the surface, getting a sander can help a lot.
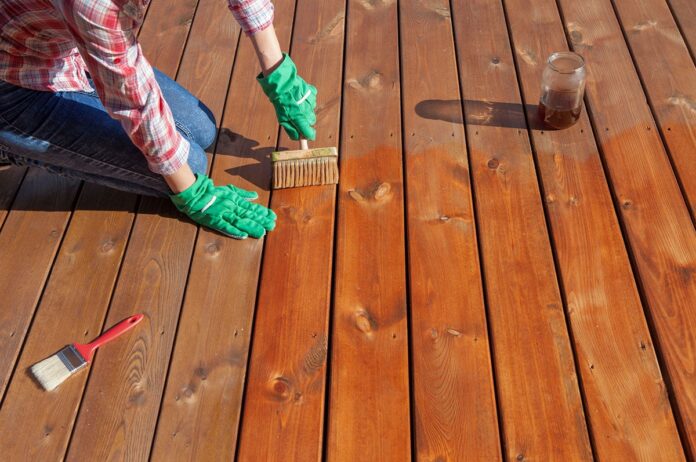
For the waterproofing process, you will need a sealant, and a roller or a brush to ensure even coatings.
Things to Consider While Doing the Waterproofing

The first thing that needs to be considered is the weather. This job should not be performed during the hottest days because the sealant will get dry before the wood absorbs it. For that reason, you should do the waterproofing job in spring when the sun is not too strong, however, make sure it does not rain.
If you have plants or furniture, if you can, make sure to place them somewhere else. If not, be sure to cover them to protect them from the cleaners.
When it comes to safety, be sure to have gloves to protect your hands from the sealant, and goggles to prevent anything from coming inside your eyes. In addition, there can be evaporating matters so be sure to get a mask to protect your lungs.
Lastly, if there is too much damage on your deck, or you find mold between the planks, consider hiring professional help. they will help you prepare the woods, so you can simply apply the sealant and enjoy the results.
Do an Inspection
The first step of the waterproofing process is the inspection of your deck. Maybe the previous coating is still in a good shape, so you don’t need to apply a new sealant at the moment.
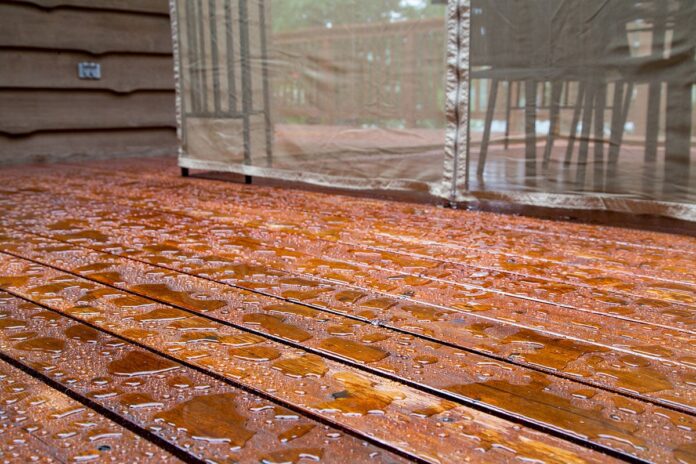
To test this, spill a little bit of water over the planks and see what happens. If the drops are staying over the wood you are good for the moment, in case the water gets absorbed, it is time for a waterproofing job.
Another way to see whether your deck is in a good condition is by sticking a tape over the woods. When you pull off the tape, if there are wooden particles, it is time for applying a new coat.
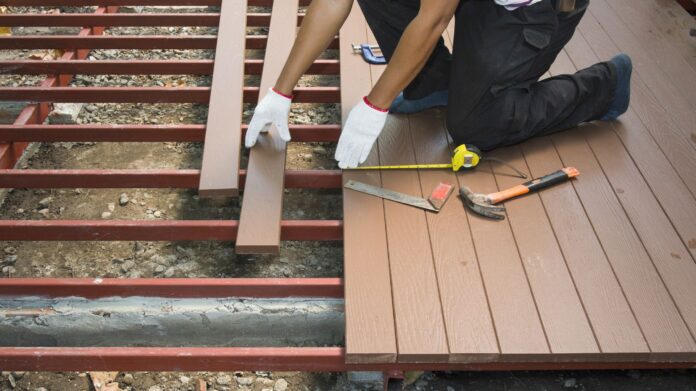
This is also the time to see whether any planks have to be replaced. Although you can do this on your own, it might be better to hire professional deck builders like https://decksforlife.ca/ for maximum longevity.
Begin With Preparations

After confirming that you need to do the waterproofing job, it is time to prepare the woods for it. This process may last longer depending on how big your deck is. Usually, it takes multiple days to have everything prepared if you do it by yourself. However, professional deck builders have enough expertise and people to get everything finished in a day.
Be sure to sand every portion of the deck without forgetting tiny spaces. There should be no previous stain left behind, and every portion should be smooth. After that, it is time to wash off any debris that came out of the sanding process. Don’t forget the spaces between the planks. If needed, get a cleaning solution appropriate for decks. It works miracles which you will see by example.
Sealant Application
After hosing the planks, let them dry for a whole day. As soon as the wood gets dry, prepare the sealant and get ready for application. It is better to begin with the edges since that requires more precise work that has to be done manually with a brush.
The sealant on the deck flooring is better to be applied with a roller. Begin from one side and progress to the other. This will help you prevent missing spaces, and it just makes the job easier.
Be sure that the layers you are applying are thin since it is always better to go with multiple thin coats than a single thick one.
Be Sure You Give Enough Time for the Sealant to Dry
After applying the sealant, you should be sure you leave enough time for it to dry. Although it seems like the sealant is dry within hours, it is advisable to leave it for more than two days.
One trick that will help you prevent forgetting and hopping on the deck prematurely is placing a rope across the edges. This will remind you and your family about the process and will avoid stepping on the fresh coats.
Do Deck Arrangements and Prepare It for the Season

As soon as the job gets done and everything is dry it is time to do deck arrangements and prepare your yard for the season.
Take off the ropes and covers you put over the furniture and plants and get your furniture arranged the way you want. It is time to get your barbeque placed, and cleaned for the upcoming season.
Conclusion
Waterproofing projects are essential in the deck maintenance process. Since it is a relatively easy job, you only need a couple of days, as well as the weather, is in your favor.
However, if you find this project too overwhelming and hard, you can always contact professional deck builders and seek help. In addition, if your woods need more than just a waterproofing job, their expertise will surely be sufficient to help you achieve the results you wanted, and enjoy the whole season.


